


Stock Drill 2D
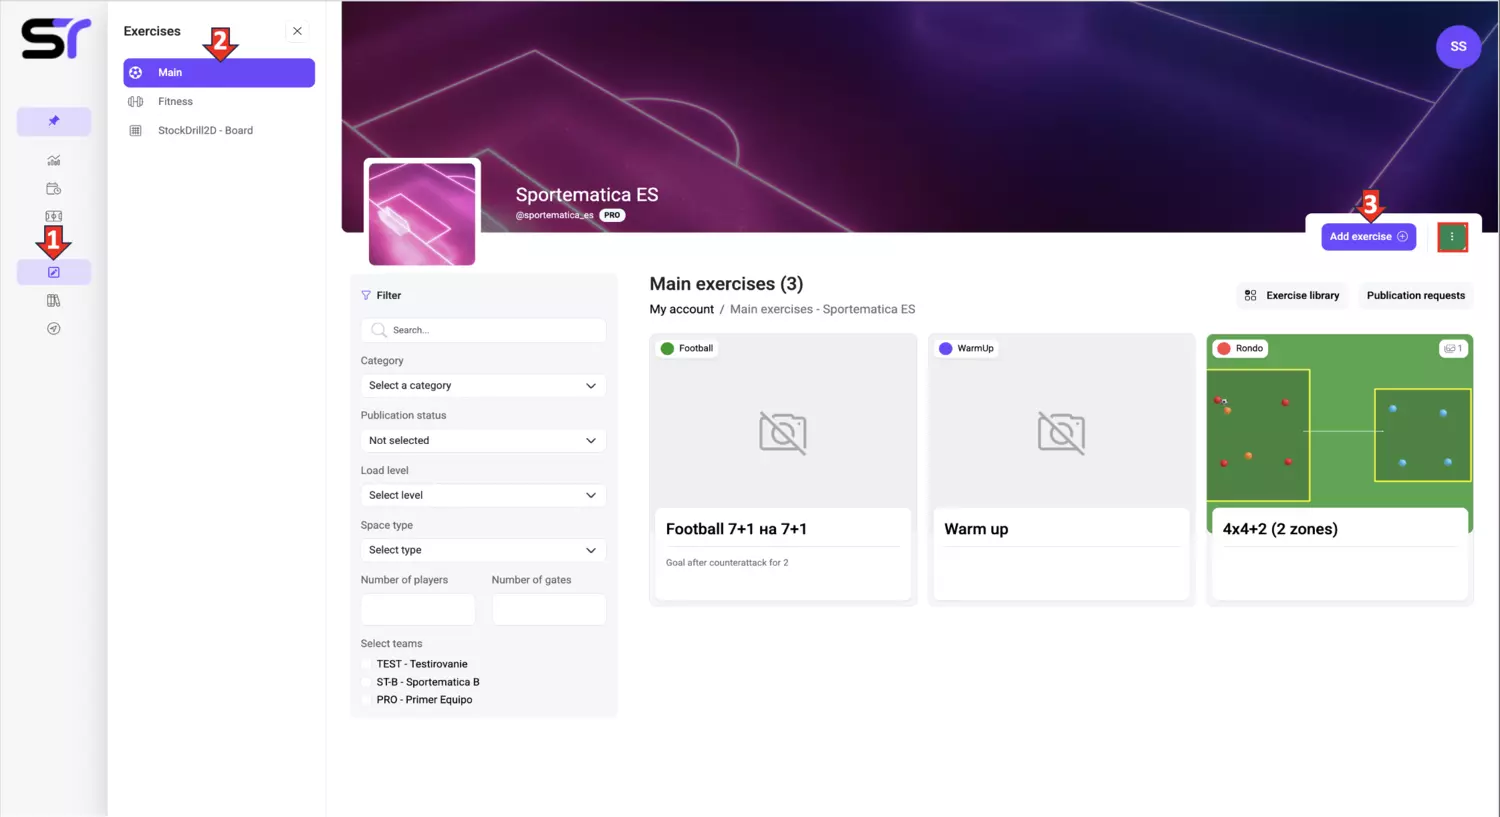
Let's consider the functionality of the Stock Drill 2D drawing tool using the example of creating a basic exercise. To do this, follow these steps (see the screenshot below):
1. Click on the Exercises icon in the side menu.
2. Select Basic.
3. Click on the Create Exercise button in the top right corner.
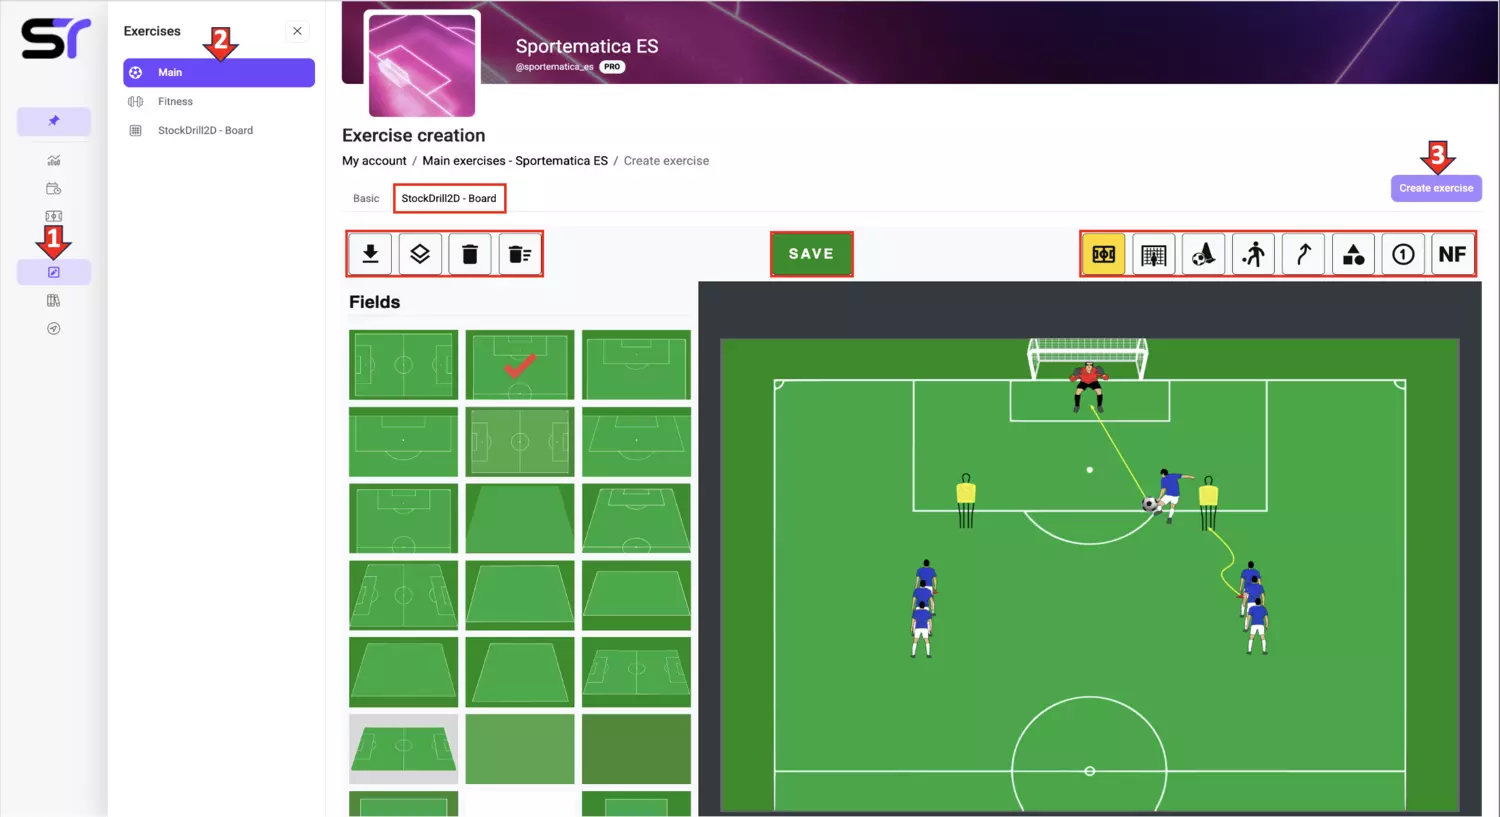
On the opened Create Exercise page (see the screenshot below), perform the following actions:
1. Go to the Stock Drill 2D tab.
2. Choose the type and size of the field by clicking on the corresponding icon in the top right.
3. Add all necessary equipment - goals, cones, markers, mannequins, and others.
4. Add players (as people or markers).
5. Indicate the directions of movement for players or the ball with lines (to change the start and end points, click on the line twice).
6. Use shapes to designate zones or the working area of the exercise (to change one side of the shape, click on it twice).
7. Save the created diagram by clicking the SAVE button in the top control panel.
8. Download it as an image (the button is located on the control panel in the top left).
9. Upload the image of the exercise diagram to the first tab, Basic.
10. Fill in the other necessary fields in the Create Exercise section according to the relevant instructions.
11. Click on the Create Exercise button.
Additional Tips:
- To remove unnecessary elements from the board, select the element and click the far-right button in the control panel (top left).
- To clear the board completely, use the corresponding button.
- The option to download the diagram image is also available on this panel.
Your images are the key to effective and engaging training sessions! The path to success begins here!