


Creating a Season
After creating your first Workspace, you will be prompted to add a season. This can be done in various ways, and the easiest one is through the Services menu (see the screenshot):
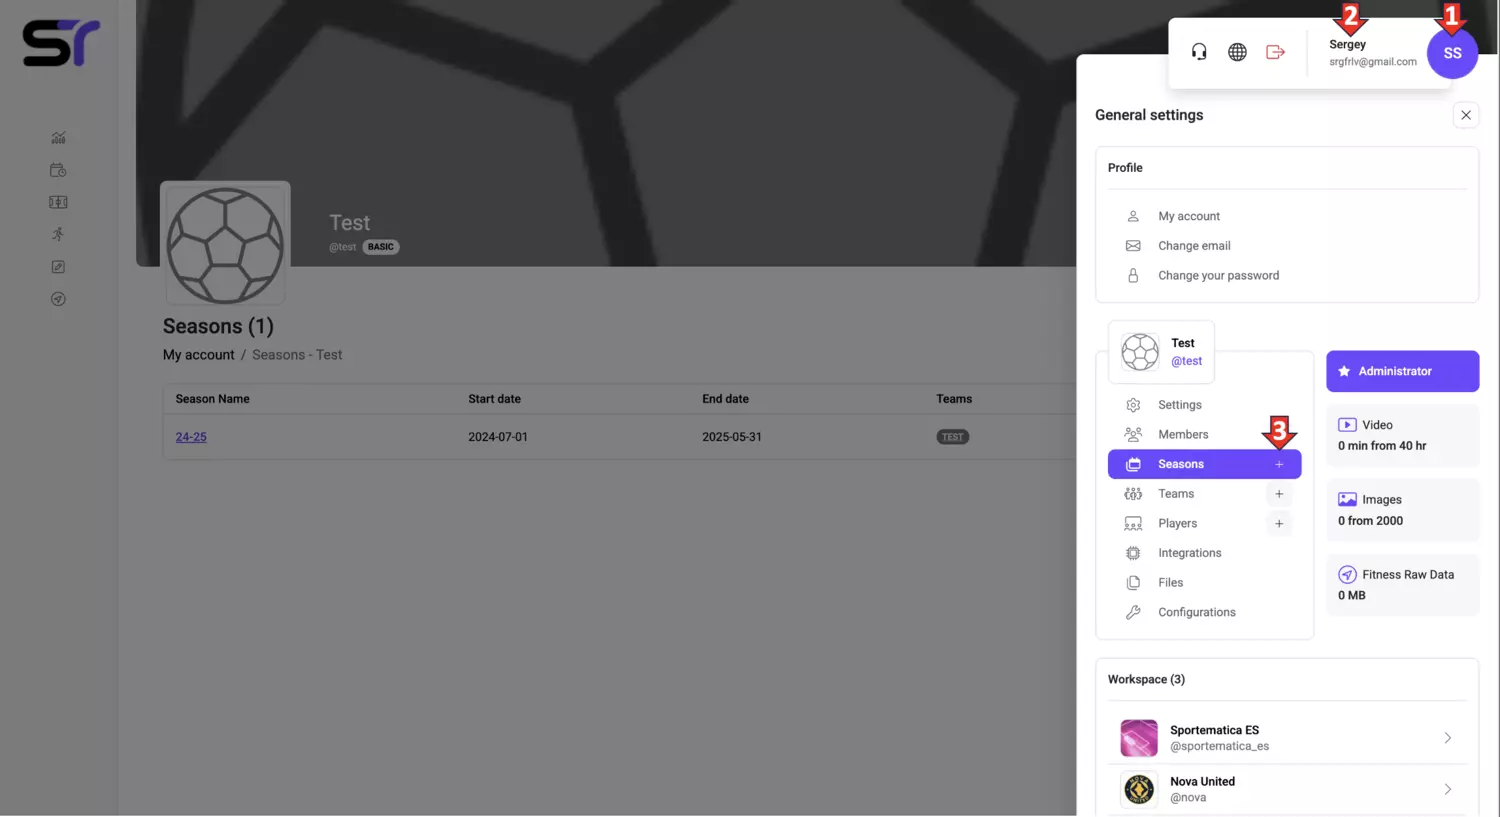
1. Click on your avatar in the upper right corner.
2. Click on your username or email address.
3. Click on the plus icon next to the word "Seasons."
To create a season, follow these steps:
1. Enter the name of the season. This can be the name of the team and the season, or just the season if you will be working with only one team.
2. Choose the start and end dates of the season. These dates will be used to define the time period for analysis and information provided on the site. You can also use the suggested calendar to simplify the date selection process.
3. Familiarize yourself with the terms of the user agreement and check the confirmation box.
4. Choose one of the actions after creating the season and click the "Create Season" button.
Congratulations! Your season has been successfully created. It's time to start Creating a Team.